During the summer of 2025 we moved flat, which has afforded me much more space to brew. I am still brewing within the kitchen, but as this is considerably larger than before, I can now dedicate more space to brewing. With this increased space I have made a number of purchases to improve my brew kit. So far these have only been used for three brew days but I wanted to share what I have learnt so far.
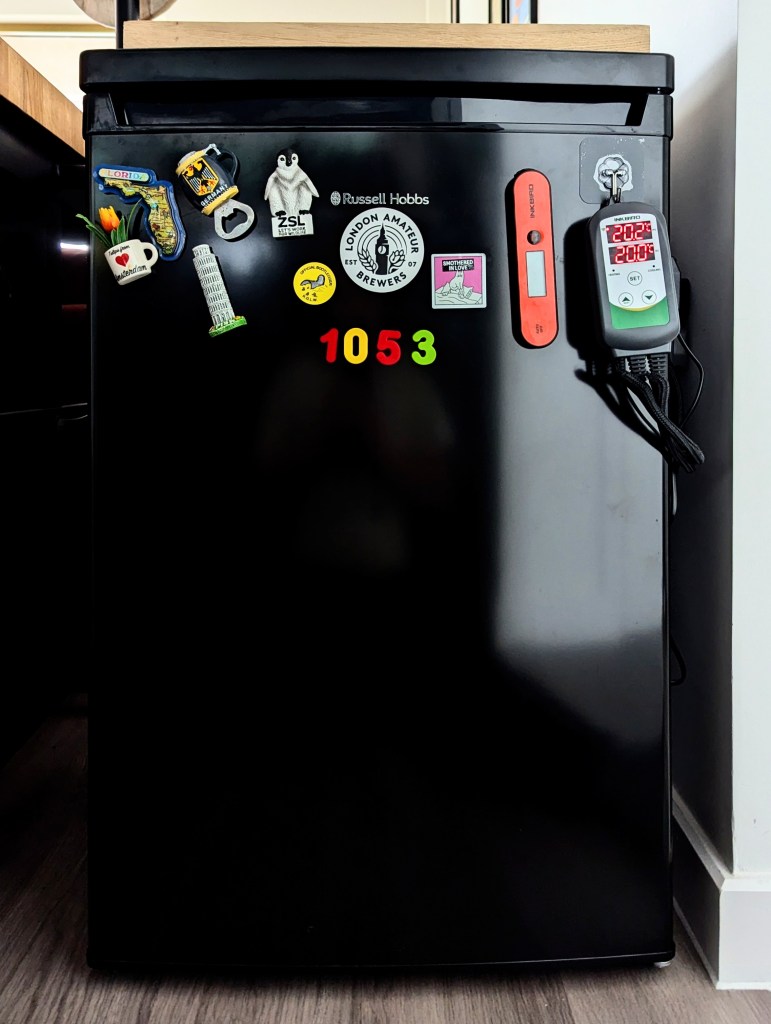
Fridge:
Filling this space was a no-brainer, I was fast to secure an undercounter fridge to use to work as a more controlled fermentation chamber. Previously I’ve relied on the ambient temperatures and the undersink storage space to harbour my fermenter. The results of which have been mixed and even serviceable (at times). But have long ached for a guarantee of cleaner and more predictable beer coming out of my fermenter. Don’t get me wrong, the unpredictability and seasonality of brewing can be very exciting, but after 5 years of this I think it is time to progress and make beers with more intention.
ITC-308:
I paired the fridge with an Inkbird ITC-308 to regulate the temperature. However, I’ve quickly learnt from my first batch that it is not quite as plug and play as I first thought, and requires understanding of how to make the most of this control. The ITC-308 itself is straightforward, but the impact of temperature and how it is measured is where I’ve struggled. It had been suggested by members of my homebrew club to still insulate the fermenter within the fridge, or at the very least the probe itself. This would help with maintaining a more stable temperature within the fermenter and give readings that better reflect that of the wort. To do this, I have repurposed a reflective camping mat, and will attach the probe between the insulation and fermenter. I’ve also had trouble with the probe becoming unstuck, so there is still some debugging needed in my process.
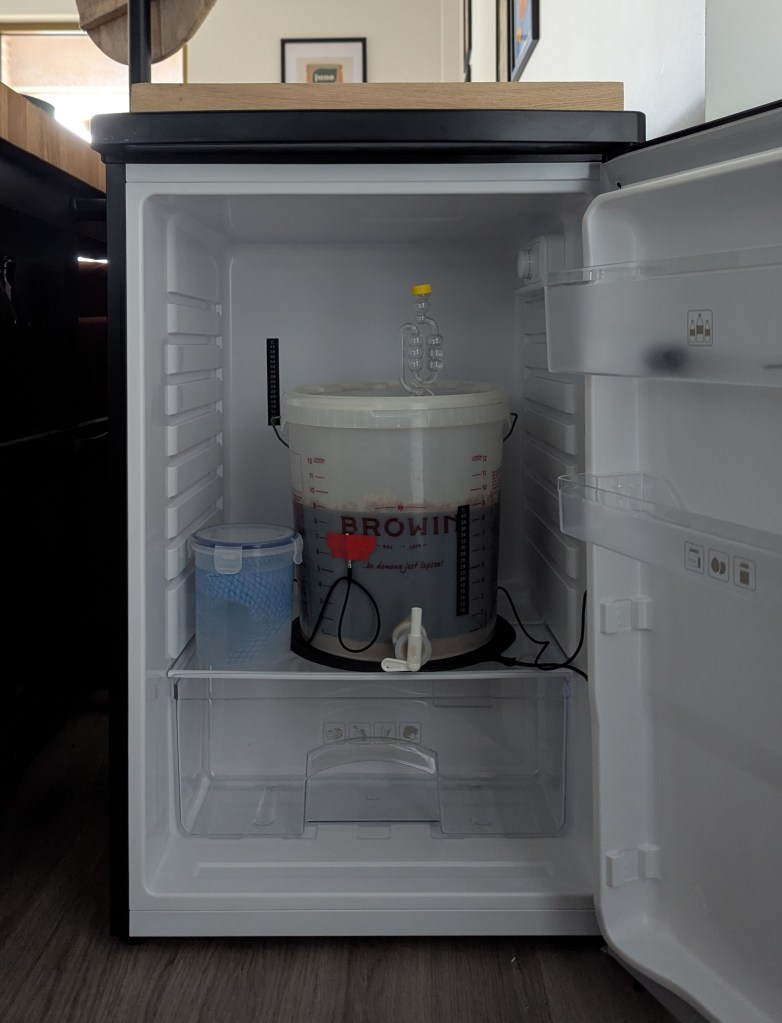
Heat Mat:
Okay, so now that I can keep my beer cool, and hold the fermentation better, I’ve found that I’ll also need to also be able to influence the temperature upwards too. The fridge and ITC-308 will keep the wort cool and within a temperature range, but if I get that range wrong at first or my fermentation stalls or there is a long lag phase, there isn’t much I can do to get things going again. So with that, I’ve bought a heat mat to sit under the bucket. I have only used this for my last two batches and it looks to have improved the temperature control greatly. I plan to make a lager soon and this will be necessary to hit the right temperature and raise it through the stages.
Hydrometer:
Whilst testing out this new set up I have had some issues with fermentation stalling, which I initially struggled to identify. I had previously relied on a cheap refractometer to confirm my gravity. I had convinced myself this must have become faulty when it indicated my gravity had settled at 1.023. So I purchased a more traditional hydrometer and to my surprise and dismay my refractometer was actually right all along. But now I have two ways to check my gravity which has given me more solace and certainty when determining when to bottle. I plan to pair this with a digital instrument like an iSpindle, so that I don’t need to keep opening the fermenter and prevent oxidation.
Thermometer:
With two recent batches I have struggled with higher finishing gravities, my current theory behind this is that the mash temperatures I’m targeting are too high. I use a Inkbird digital probe thermometer to record brewing temps, but as the probe itself is rather short I don’t think it is truly reflective of the general mash temp. I have now purchased a long fry oil thermometer to sit in the mash kettle. I have used these in the past and they worked fairly well and on my most recent brewday, paired with the digital thermometer, I think I kept a pretty consistent mash temp.
Yeast:
I have also purchased a bunch of spare packets for dry yeast, namely Nottingham. From now on, I will buy two packets of any new dry yeast to avoid disappointment and also have a ‘library’ on hand in case I ever need to pull a recipe together quickly. I also now stock extra bottled mineral water, so that I am not having to panic or rush out on a brewday. On a side note, I have recently held off using yeast nutrient as it significantly raises my PH after the boil. I’m sure for many brewers this is fine but as I don’t have (or want to use) any acids to correct PH, it could be doing more harm than good for my yeast health.
Bottles:
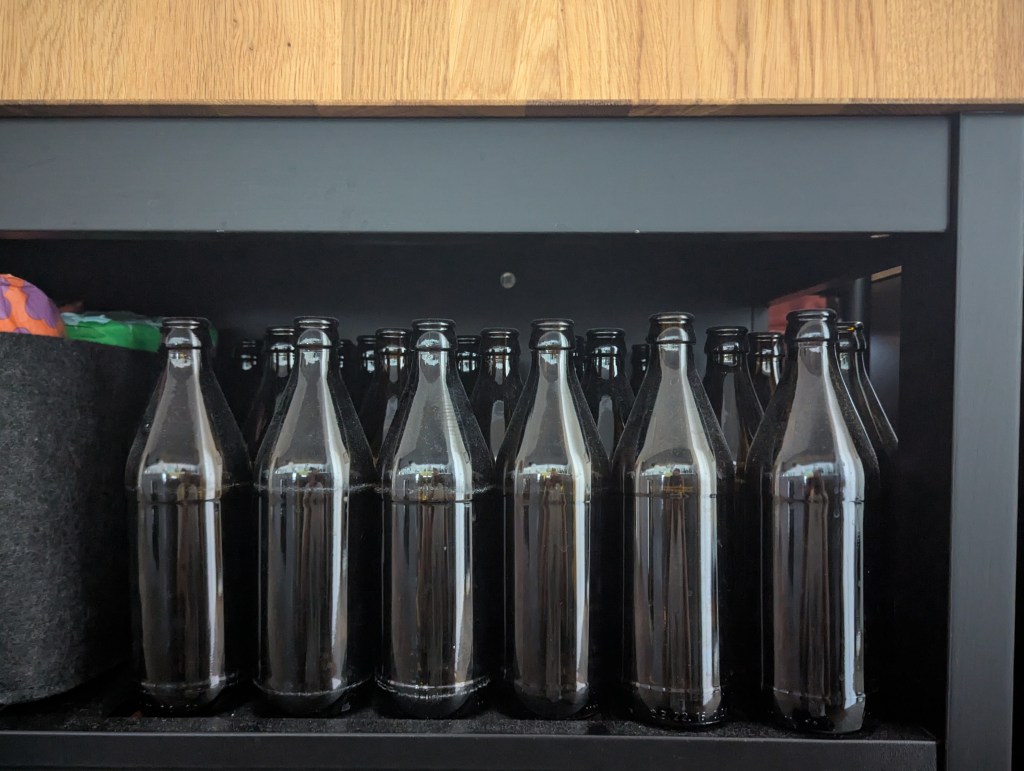
Another not so exciting investment was some heavy 500ml german style crown cap bottles. During autumn and winter I have been indulging in various quality lagers and have collected the bottles to reuse. I really like their shape, the labels are easy to remove, and the weight of glass comforts me that they are less likely to explode on me.
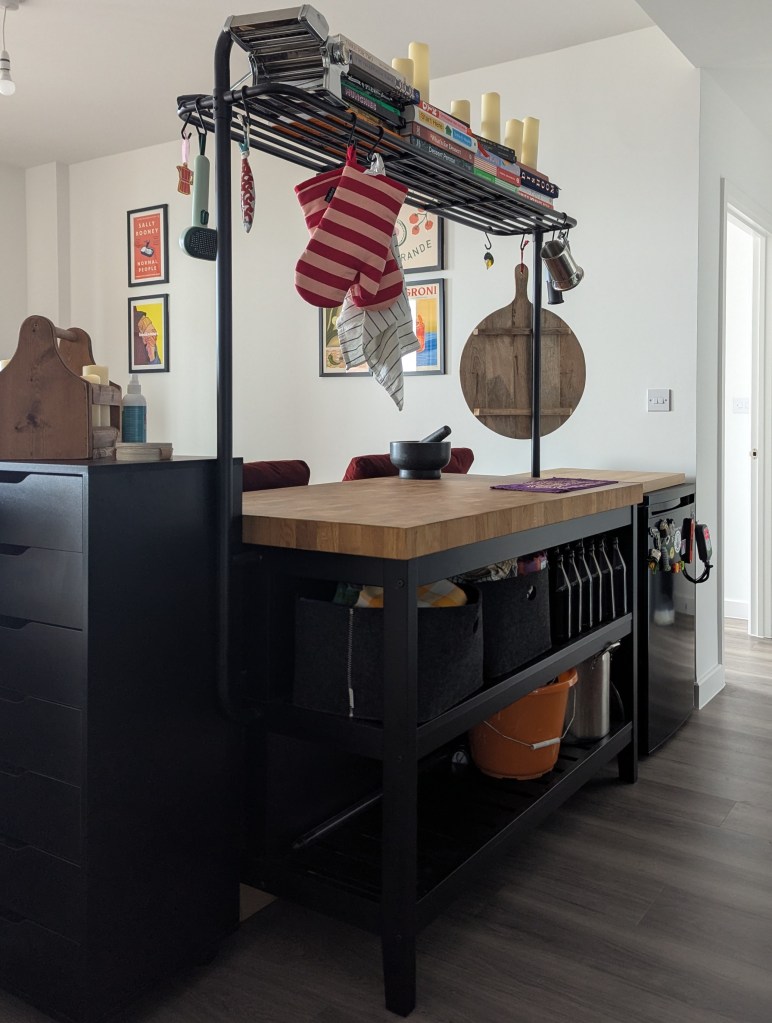
Island & Draws:
During the furnishing of our new place we’ve also incorporated a kitchen island unit from Ikea. This exists somewhat as a bar where we could serve drinks between the kitchen and living area. We recently took in a kitten, which has taken to hiding under the island, so to keep things organised and out of reach I have bought some drawers to create more storage options. If my homebrew doesn’t taste great, at least the space it is made in is presentable.

I had intended to post this in early Jan to kick off 2026, but as I started to brew and tweak my kit it felt valuable to add to this list. I plan to post a more detailed look at my current process with a write up of the mild I brewed in Jan.

Leave a comment